Our Kanger Subtank Mini review puts the legendary sub ohm tank through it’s paces: is it still one of the best options on the market, or have newer designs eclipsed what it has to offer?
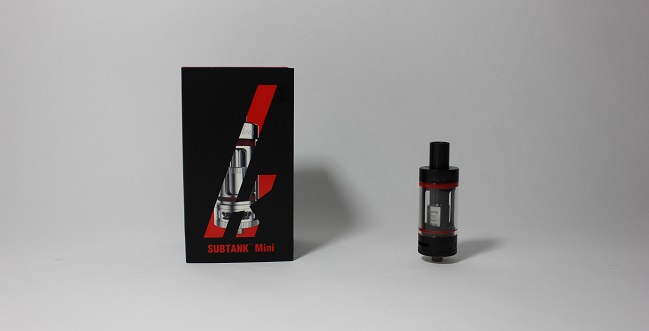
Is it worth picking up?
The Kangertech Subtank Mini thoroughly deserves its reputation as one of the stand-out sub ohm tanks on the market today, with excellent performance across different coil types, a solid RBA head and a user-friendly design, it’s really hard to fault.
It deals with a lot of the issues vapers had with the original Subtank – thanks to improved airflow, a better RBA head setup and the unwieldy size – and still captures everything that was great about it. It’s currently available for $38.99, which is fairly pricy, but if you’re looking for a top-quality sub ohm tank, it’s well worth every cent.
Full review
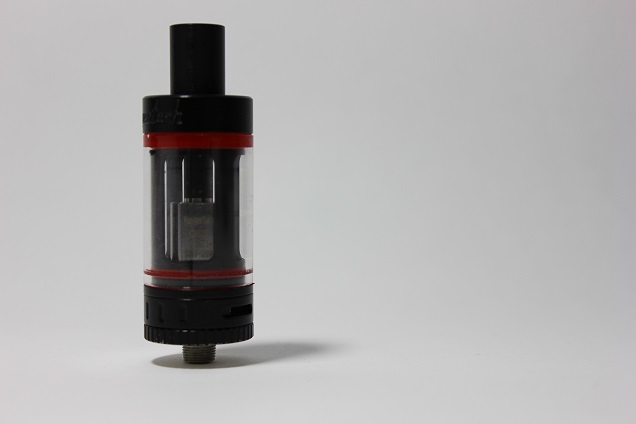
Kanger’s Subtank series is one of the most popular lines of sub ohm tanks on the market. This is largely down to their solid design, substantial tank sizes and the wide range of available atomizer heads. It’s easy to see why vapers around the world class them as some of the best sub ohm tanks on the market. The Subtank Mini has a straightforward aim: cramming everything you love about the original Subtank into a more portable format. Although it might mean taking a bit of a down-grade in tank size, for many vapers, the Subtank Mini looks like the perfect sub ohm tank. But is it worth picking one up? Has the tank still got what it takes to compete in the increasingly crowded market? Our Kanger Subtank Mini review finds out.
What You Get
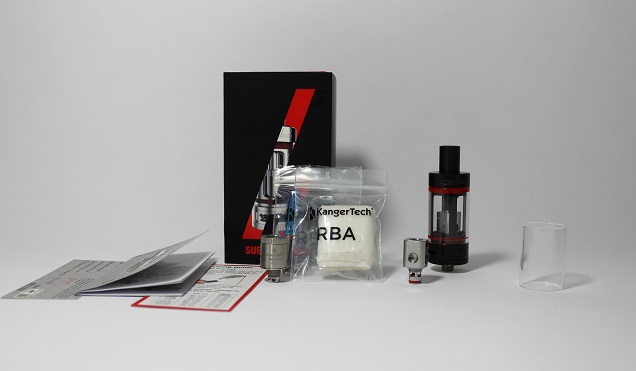
The Kangertech Subtank Mini sub ohm tank comes in a well-designed box with an outer sleeve and a drawer-like slide-out interior. Your tank sits in foam in the top layer and underneath it you get a spare 1.2 ohm OCC coil (alongside the 0.5 ohm one installed in the tank), an RBA head and a spare Pyrex tank tube. It also comes with a manual, some spare screws, a couple of pre-wrapped coils for the RBA and some Japanese organic cotton. This is a nice selection of goodies, and more than enough to keep you vaping with the Subtank Mini for quite some time.
Kanger Subtank Mini Design
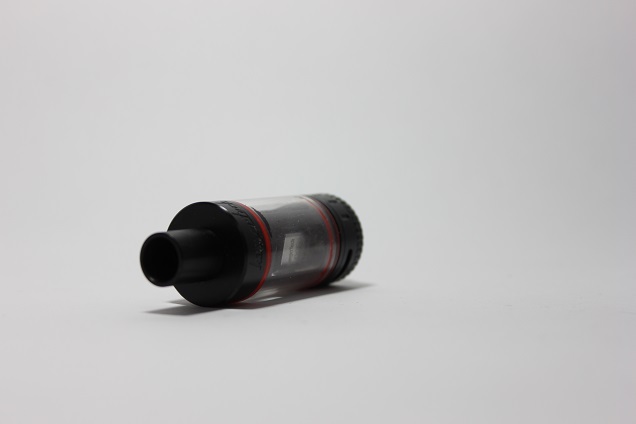
The Kanger Subtank Mini has a simple but effective design. It features a solid black body and red O-rings, with very little branding other than the Kangertech logo engraved into the top cap. It’s also available in white, but the overall look is very similar. The glass tank takes up the majority of the Subtank, with four black columns running up the inside to add to the appearance. The 22 mm diameter means it fits most mods nice and flush, and the unassuming appearance means there’s little risk of clashing regardless of which mod you’re using.
The structure of the Kanger tank is fairly basic. It has a bottom-filling design, which means the base screws off the body of the tank along with your coil head and leaves the tank section open for refilling. This means you have to invert the tank to refill or get access to the coil if you have e-juice in it. However, on the plus side this means you can easily change coils without emptying.
The airflow control system works through a ring at the bottom of the tank. Adjusting this reveals either a single slot or two sizes of hole, each with a matching partner on the opposite side. The system works really simply, and you’ll easily be able to find a suitable setting for both mouth-to-lung and direct-to-lung inhales.
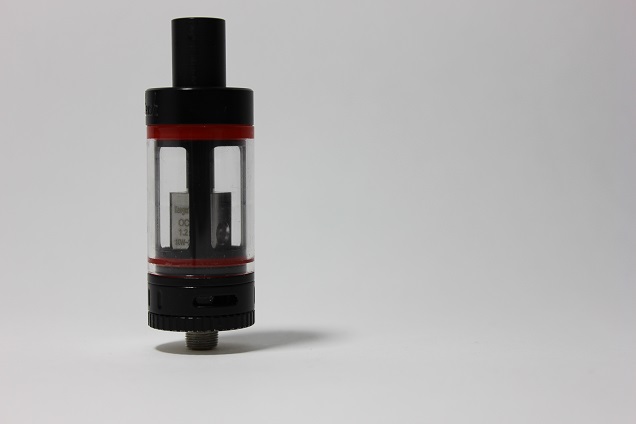
The drip tip has a textured feel thanks to a series of closely-packed and faintly-raised horizontal rings running up its length. This may sound odd but it gives the drip tip a soft, velvety feel on your mouth. It’s not a wide-bore tip, though, and it doesn’t have any additional airflow adjustment. If you'd prefer something else, it can be changed for any standard 510-size tip to suit your preferences.
The coils have flat sides, with two sides bearing circular holes for the wick, and the front edge showing the resistance and the suggested wattage range for the coil. They simply screw into the base, so the setup is pretty much foolproof. The RBA head is a bit different. A single screw holds the outer case in place and you can remove it to reveal the two-post deck with an airflow hole in the center. The RBA head has two circular holes for wicking and a screw off top so you can check out your coils without removing the whole outer section.
Overall, the Kanger Subtank sub ohm tank doesn’t make any bold moves when it comes to design. Some aspects are now a little outdated, but it still does everything you need it to with an understated, no-nonsense style.
Subtank Mini Pre-Built Coil Heads – Vapor Production and Flavor
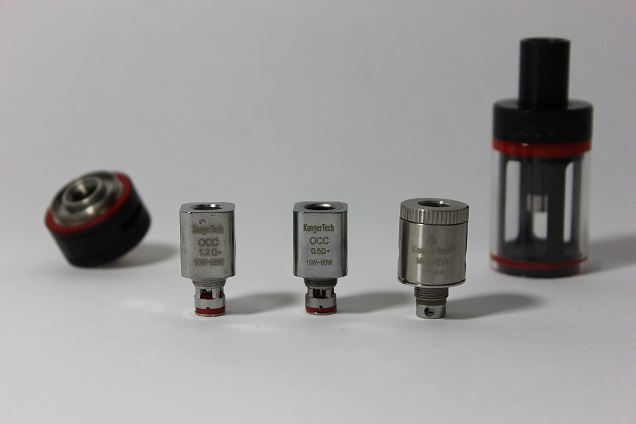
The coils that come with the Subtank Mini sub ohm tank perform excellently, on the whole. The sub ohm coil is what most vapers will pick up the tank for, and you're unlikely to be disappointed with the vapor output from the coil. The 0.5 ohm resistance and sizable wicking ports mean you get excellent vapor production when paired with a suitably high wattage. The flavor is also exceptional, with every note of your e-juice flavor coming through clearly. Overall, the 0.5 ohm coil performs excellently.
For mouth to lung loving vapers, the 1.2 ohm coil coil head offers a lower-power vaping experience better tailored to the lower airflow settings on the Kangertech Subtank Mini. Here, there is less vapor production in comparison to the sub ohm option. However, there is still more than enough vapor to keep most non-cloud chasers happy. As for the flavor, the 1.2 ohm coil does a great job. You probably don’t get as much of a flavorful vape as with the lower-ohm coil, but the difference is very minor and largely depends on your setup and wattage.
On the whole, the pre-built coil heads on the Subtank Mini do a fantastic job on the flavor and vapor production front. This great performance is undoubtedly a large part of the reason that the tank has become so popular.
The Subtank Mini RBA Head – Ease of Rebuilding
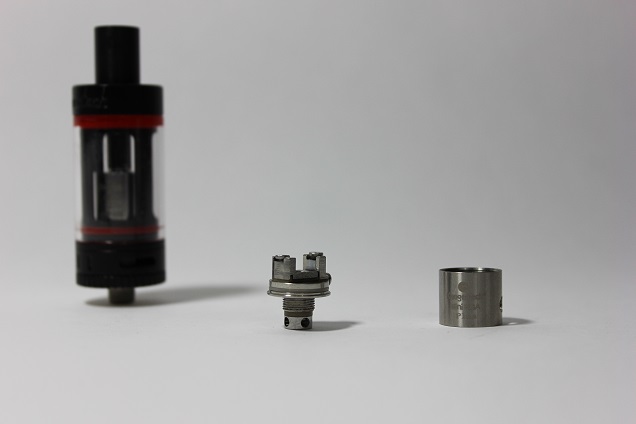
The RBA head on the Kanger Subtank Mini sub ohm tank is a great extra for anybody who either already builds their own coils or may want to do so in the future. The restrictions imposed on the RBA head by the tank itself mean that the deck is fairly small. Thankfully, the simple two-post layout does a good job of mitigating this downside.
Once you’ve put your coils together, you just trap the legs under the heads of the screws in the tops of the posts. That’s right, there are no post-holes. For longer-term vapers, this might evoke memories of the days when you had to struggle in vain to keep your coil legs from slipping out as you tied to tighten down the screw, but thankfully the RBA on the Subtank Mini has two raised sections next to each screw point. This makes it much easier to trap your wire-ends in place. They connect up just fine so long as you get each between the screw and this barrier.
Once you’ve connected up you can check the resistance and make any final changes. You simply connect the RBA head to the Subtank Mini’s base and check it on a 510-threaded resistance checker or a VV/VW mod. If everything looks good, you can cut the spare ends of the wire down so they’re as close to the screw as you can get them.
When everything’s ready all you have to do is insert the wick. Your coil will naturally line up with the two wicking ports, then you just insert your wick and cut the ends down to size. You want them to stretch out a little further than the deck but not too much. Then you re-attach the chamber without the top on, so your wicks point upwards and out of the opening. You can trim them down a little further if needed, but really all you need to do now is push the wicks down into the chamber and screw on the top.
On the whole, the RBA head on the Kanger Subtank Mini tank works really well. It’s not too difficult to build on and it makes good use of the limited space on the deck.
Kanger Subtank Mini In Use
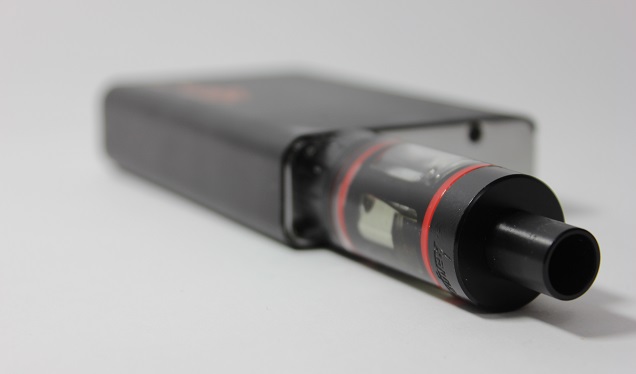
So how does the Subtank Mini tank perform on a day-to-day basis? Is it smooth sailing (with added clouds) or are there road-blocks that ruin the experience?
For anybody new to sub ohm tanks, the Kangertech Subtank Mini isn’t the perfect device, but on the whole it’s still very easy to use. The bottom-filling design is really the biggest downside from a new users’ perspective. Realistically, though, this isn’t much more complicated than top-filling designs. All you have to do to refill is invert the tank and unscrew the base from the body of the Subtank, and then fill up directly into the tank. As always, you should avoid getting e-liquid down the central tube. On the whole this is still really easy, so it shouldn’t cause any problems.
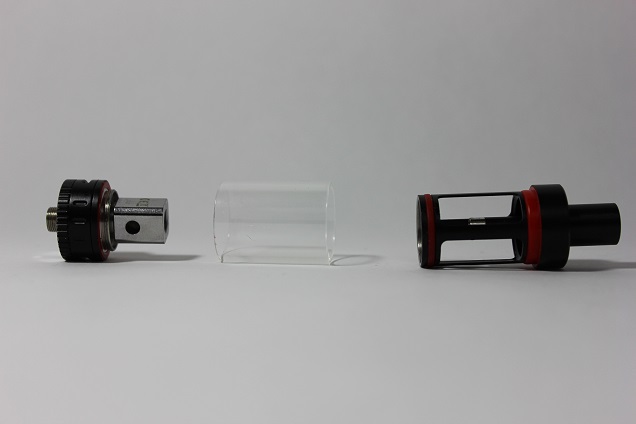
Changing coils is about as easy as this. When you invert the tank and unscrew, you just replace the coil installed in the base with a new one. To take it apart for cleaning, after unscrewing the base, the tank section just pulls right off the top cap. From this point, everything is easy to take apart so it's ready to rinse or clean using whichever method you prefer. And that’s really everything you need to do with the Subtank Mini sub ohm tank apart from vape. For ease of use, the tank does really well.
As mentioned earlier, the performance is also excellent with both pre-built coils. You’re unlikely to have any complaints about flavor or vapor production. As a sub ohm tank, the kanger Subtank Mini really comes into its own with wide open airflow and the sub ohm coil attached. However, the performance with the airflow on the smallest slot and the higher-ohm coil is great for mouth-to-lung vapers.
There isn’t too much to complain about with the Subtank Mini vape tank. There is some leaking occasionally, but it’s really quite minor and it’s an expected downside of most atomizers. Other than that, the only possible downside is the smaller tank in comparison to the Kanger Subtank Plus (which increases it to 7 ml), but for most vapers this really isn’t going to be a problem. I prefer to change flavors fairly regularly so 4.5 ml is more than enough for me. The capacity is really a touch lower than this (about 4.2 ml) but it doesn’t detract from what the tank has to offer. The over-hyped marketing claims are a little irritating, but really a 4.2 ml capacity is plenty.
Overall, the Kanger Subtank Mini is easy to use, performs excellently and only has very minor downsides. It’s a stand-out sub ohm tank, especially for those looking for both the simplicity of using pre-built coils and an occasional tinker with an RBA head. If you’re just looking for an RTA, there are some better options when it comes to deck size and ease of rebuilding (like the Bachelor Nano, the Wotofo Conqueror, the GeekVape Avocado 24 and many others), but for a device that can do it all, the Subtank Mini is hard to beat.
Build Quality
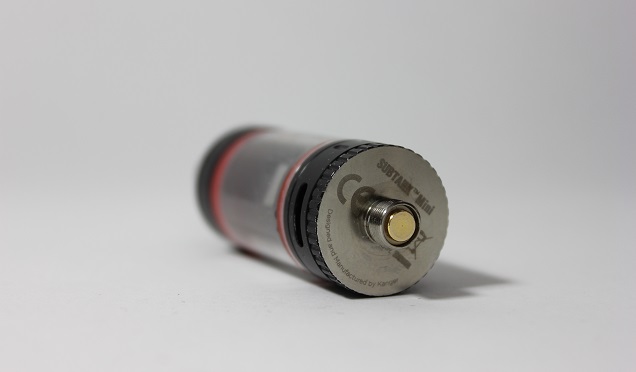
Kangertech has earned a solid reputation for themselves in the industry, and the build quality of the Subtank sub ohm tank is just what you’d expect from a reputable company. Everything works exactly as it should, and the tank itself is sturdy and reliable, right down to the thick, high-quality O-rings. No complaints here at all.

